How to Build an E-Commerce Website Using AI (Without Coding) — 2026 Guide
Step-by-step guide to creating an e-commerce website using AI without coding — the exact prompts, product pages, cart, Razorpay payments, your own domain and launch, plus honest costs and what AI still can't do.
- 01Quick answer
- 02What "building with AI" actually means
- 03Before you start: four things to have ready
- 04Step 1 — Describe your store to the AI
- 05Step 2 — Add your product catalogue
- 06Step 3 — Design and copy
- 07Step 4 — Cart and checkout
- 08Step 5 — Payments with Razorpay
- 09Step 6 — Your domain, and going live
- 10Step 7 — Emails, WhatsApp and basic SEO
- 11AI vs no-code vs hiring a developer
- 12Free vs paid: what "free" really gets you
- 13What AI still cannot do for you
- 14After launch: your first 10 orders
- 15Build-and-launch checklist
- 16The bottom line
We'll email you our Performance Marketing Setup Checklist instantly.
No spam. Unsubscribe anytime.
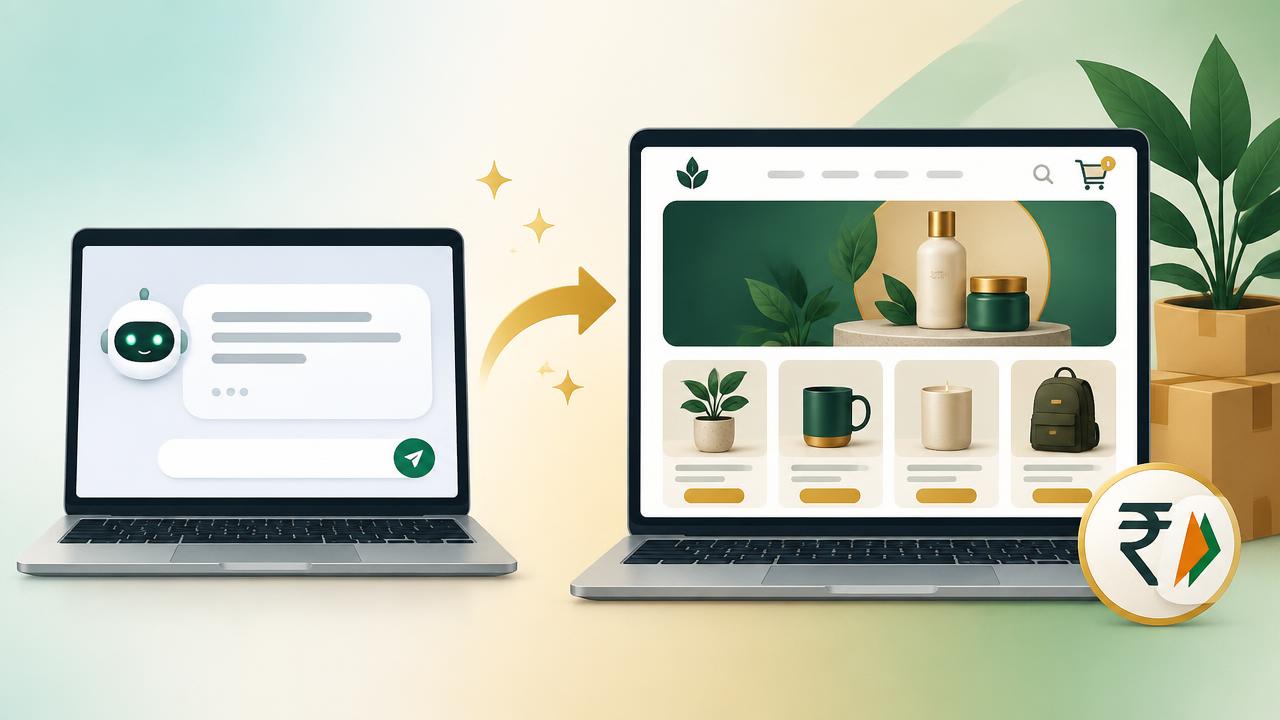
A few years ago, creating an e-commerce website meant one of three unpleasant options: pay a developer ₹30,000–₹80,000 and wait six weeks, wrestle with WordPress plugins, or rent a SaaS store forever. In 2026 there is a fourth: describe the store you want in plain English and let AI build it.
This guide is the complete process — the exact prompts, the order to do things in, where people get stuck, and the honest costs. No coding, and nothing hidden.
Quick answer
| Question | Answer |
|---|---|
| Do I need to code? | No — you type instructions in plain English |
| How long? | ~60 minutes for a live store with payments; a weekend to polish it |
| What does it cost? | Domain ~₹1,000/year + AI tool subscription; ~2% per order to the gateway |
| Can it take UPI and COD? | Yes, through Razorpay + a courier partner |
| Do I own it? | Yes — the site and the code are yours, no monthly platform rent |
What "building with AI" actually means
An AI website builder like Lovable is not a template gallery. You write something like "a silk saree boutique, cream and gold, 12 products, add-to-cart and Razorpay checkout" and it generates the real working site — pages, layout, cart logic, mobile version. Then you keep talking to it: "make the product images bigger", "add a size guide", "put a WhatsApp button in the header."
ChatGPT and Claude handle the words — product descriptions, headlines, policy pages, email copy — while the builder handles the site itself. That split is the whole workflow.
Compare that with the alternatives: drag-and-drop builders make you design every block yourself, and WordPress makes you choose, install and maintain plugins. With AI you describe outcomes, not components.
Before you start: four things to have ready
- Your product list — names, prices, one-line descriptions. Even 5 products is enough for version one.
- One photo per product. A phone photo on a plain white background beats a stock image. (You can clean these up later with AI photo editing prompts.)
- A domain. Buy it first, ~₹700–₹1,500/year, so you're not scrambling at launch.
- A Razorpay account. KYC takes a day or two, so start it now — it's the only step that waits on someone else.
Still deciding what to sell? Our list of 25 e-commerce business ideas you can start in India sorts them by budget.
Step 1 — Describe your store to the AI
Open the builder and write the brief. Be specific about three things: what you sell, who buys it, and the feeling you want.
Prompt to paste: "Build an e-commerce website for a handmade candle brand based in Hyderabad. Audience: urban women aged 25–40 buying gifts. Warm, minimal look with cream and terracotta colours. Include a homepage with a hero banner, a products grid, individual product pages, an about page and a contact page. Mobile-first."
What you should see: a complete, clickable site within a couple of minutes — homepage, product grid and placeholder products.
Common mistake: asking for everything at once ("add cart, payments, blog, reviews, login, dashboard"). Build the shape first, then add features one instruction at a time. AI follows small instructions far more accurately than giant ones.
Step 2 — Add your product catalogue
Paste your real products in. Structure beats prose here.
Prompt to paste: "Replace the placeholder products with these 8 real products. For each, create a product page with the image, name, price in ₹, description, and an add-to-cart button. Products: 1) Amber Glass Candle — ₹649 — ... 2) ..."
What you should see: a grid of your actual products, each opening its own page.
Common mistake: uploading huge camera images. Resize to about 1200px wide before uploading or your store will load slowly on mobile data.
Step 3 — Design and copy
Now make it look like a brand rather than a demo. Two instructions:
To the builder: "Apply our brand colours (#8C4A2F and #F6EFE6), use a serif font for headings, add our logo to the header, and make the homepage hero a full-width image with the tagline and a Shop Now button."
To ChatGPT or Claude: "Write a 60-word product description for a hand-poured amber glass candle, 40-hour burn time, soy wax, aimed at gift buyers in India. Warm, specific, no hype."
Common mistake: letting the AI keep its default copy. Generic descriptions are the single fastest way to look like every other store. Rewrite them with real details — burn time, fabric, weight, who it's for.
Step 4 — Cart and checkout
Prompt to paste: "Add a shopping cart: add-to-cart with quantity, a cart drawer showing items and total, and a checkout page collecting name, phone, email and delivery address with pincode."
Keep the checkout short. Every optional field costs you orders. Name, phone, address, pincode, pay — that's it.
Step 5 — Payments with Razorpay
This is the step people fear and it's genuinely simple: the builder makes the checkout, Razorpay moves the money.
- Create a Razorpay account and complete KYC (PAN, bank account, business details).
- Copy your API keys from the dashboard.
- Tell the builder: "Connect Razorpay checkout using these keys so customers can pay by UPI, card, net banking and wallets. After a successful payment show a thank-you page with the order number."
- Add COD as a separate option if you sell outside metros: "Add a Cash on Delivery option at checkout for pincodes we serve."
Razorpay charges roughly 2% per successful transaction — far less than the 15–30% commission a marketplace takes. We break those numbers down in the e-commerce website development cost in India guide.
Common mistake: launching with test keys still connected. Switch to live keys and put ₹1 through the real checkout yourself before you tell anyone the store is open.
Step 6 — Your domain, and going live
Publish the site, then point your domain at it (the builder gives you the DNS records; your registrar has a page to paste them into). Give DNS a few hours.
Then test on a phone, as a stranger would: find a product, add it, check out, pay, receive the confirmation. Ask two friends to do the same on different phones.
Step 7 — Emails, WhatsApp and basic SEO
The store works. Now make it trustworthy and findable.
- Order confirmation email: "Send the customer an order confirmation email with the order number, items, total and delivery estimate."
- WhatsApp button: most Indian buyers ask before they buy. "Add a floating WhatsApp button linking to +91XXXXXXXXXX with the message 'Hi, I have a question about your candles'."
- SEO basics: "Add unique page titles and meta descriptions for every page, one H1 per page, alt text on all product images, and generate a sitemap."
- Policy pages: shipping, returns, privacy, contact. Buyers check these; so do payment gateways.
AI vs no-code vs hiring a developer
| AI builder | Shopify / Wix | Freelancer or agency | |
|---|---|---|---|
| Time to live store | ~60 minutes | 2–7 days | 4–8 weeks |
| Upfront cost | ~₹1,000 (domain) | ₹0 trial | ₹30,000–₹80,000+ |
| Monthly cost | ~₹0–₹2,000 | ₹4,000–₹10,000 with apps | ₹0 + change requests |
| Coding needed | None | None | None (you pay for it) |
| You own the store | Yes | No — rented | Yes |
| Making a change | Ask the AI, 2 minutes | Edit yourself | Email and wait |
Choosing between platforms rather than methods? Read best e-commerce platform in India next.
Free vs paid: what "free" really gets you
Free tiers are genuinely useful for building and previewing. Where free ends:
- A custom domain almost always needs a paid plan — and a store on a builder's subdomain does not look like a business.
- Monthly build limits on free AI tiers run out mid-project.
- Payments are never free: ~2% per order, whichever gateway you use.
- Your time is the biggest cost either way. Budget a weekend, not an hour, for a store you'd actually promote.
Honest summary: budget ₹1,000 for the domain and ₹1,500–₹2,500/month for the AI tool while you build. That's it.
What AI still cannot do for you
Being straight about this matters more than the hype:
- Source your products and negotiate with suppliers.
- Pack and ship orders, or absorb COD returns.
- Register your GST or file your taxes.
- Make anyone visit. A store with no traffic makes no sales — you still need Instagram, WhatsApp, Meta ads or Google.
- Build trust. Real photos, a real phone number, honest policies and fast replies do that.
AI removes the build barrier. The business is still a business.
After launch: your first 10 orders
- Send the link personally to 20 people — not a broadcast, individual messages.
- Post three product photos with prices on Instagram and WhatsApp Status.
- Run one ₹500 Meta ad to your best-selling product and watch where people drop off.
- Fix the one thing that loses people (usually a slow image or a confusing shipping charge).
- Ask your first five buyers for a one-line review and put it on the homepage.
No signup, instant score. Answer all 4 and check where you stand.
Build-and-launch checklist
Tick these off in order:
Ticks are saved in this browser — come back and pick up where you left off.

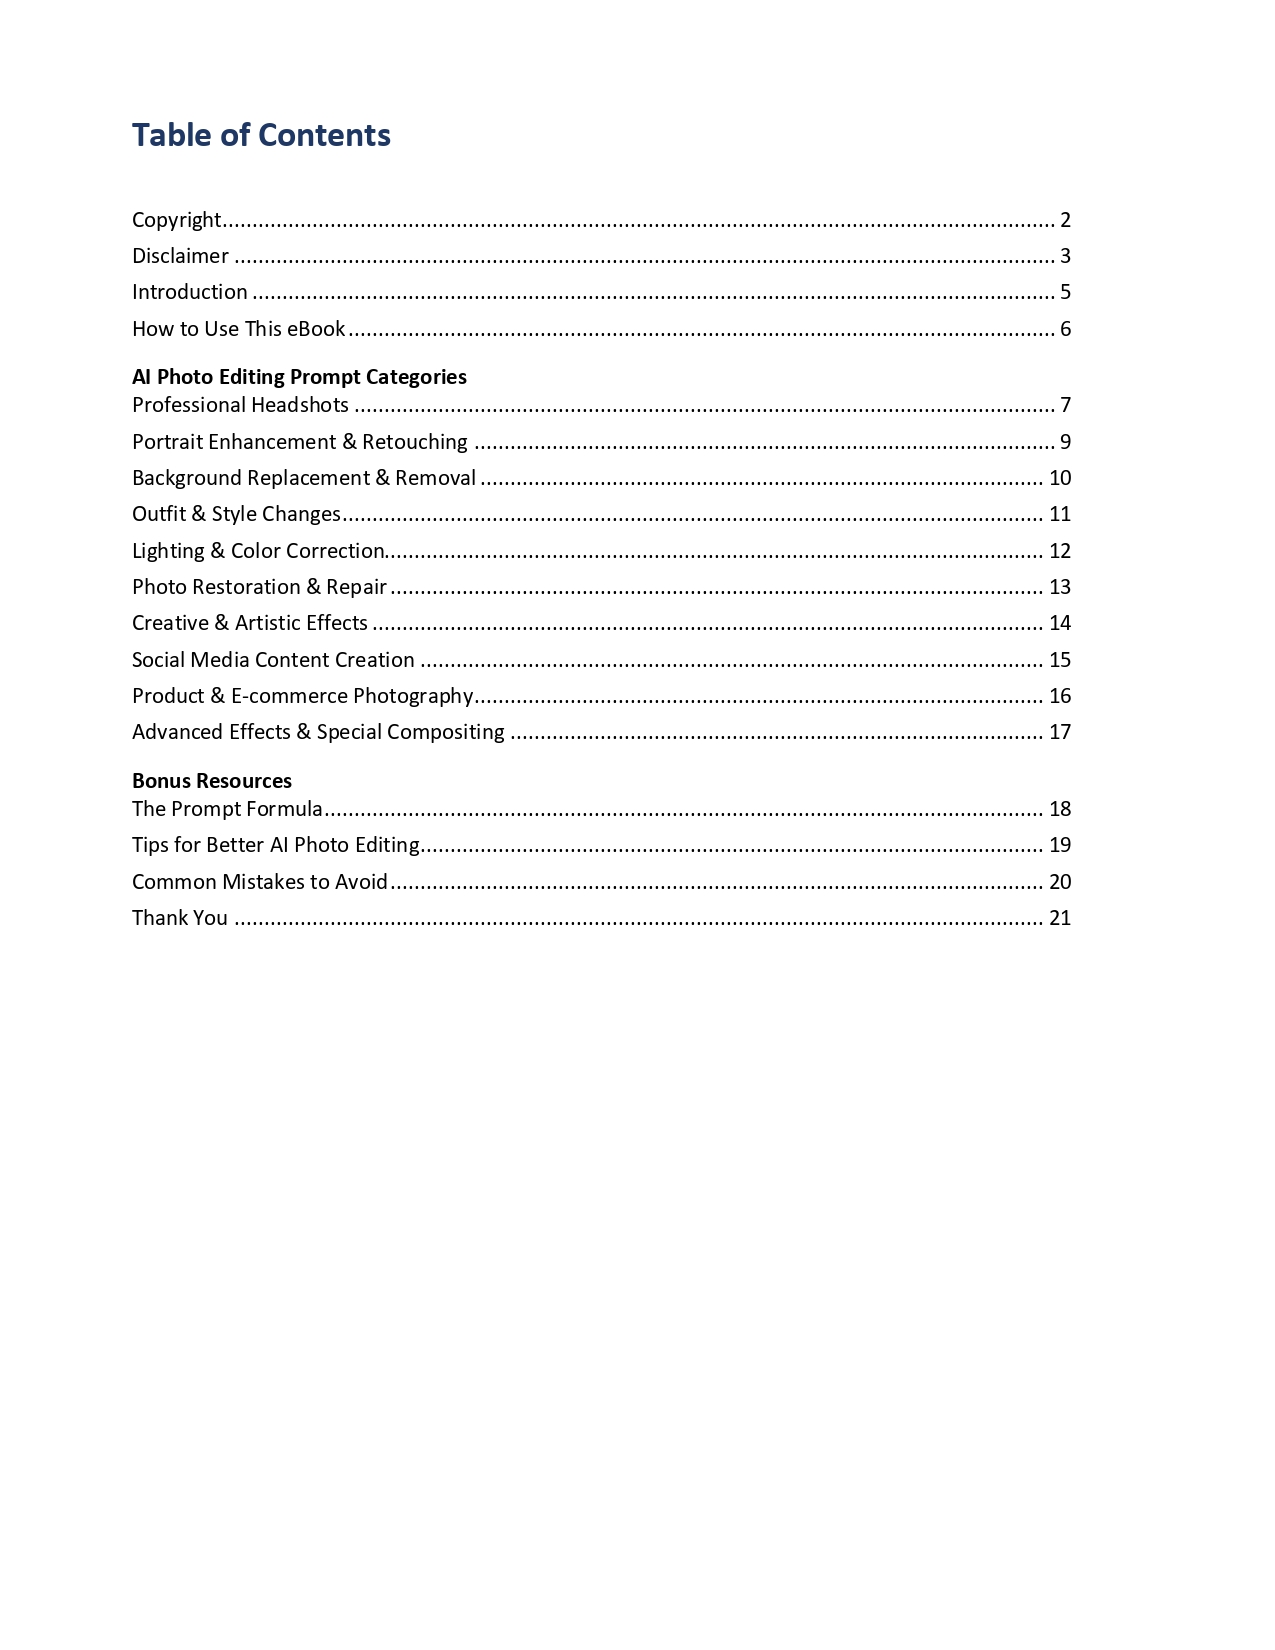
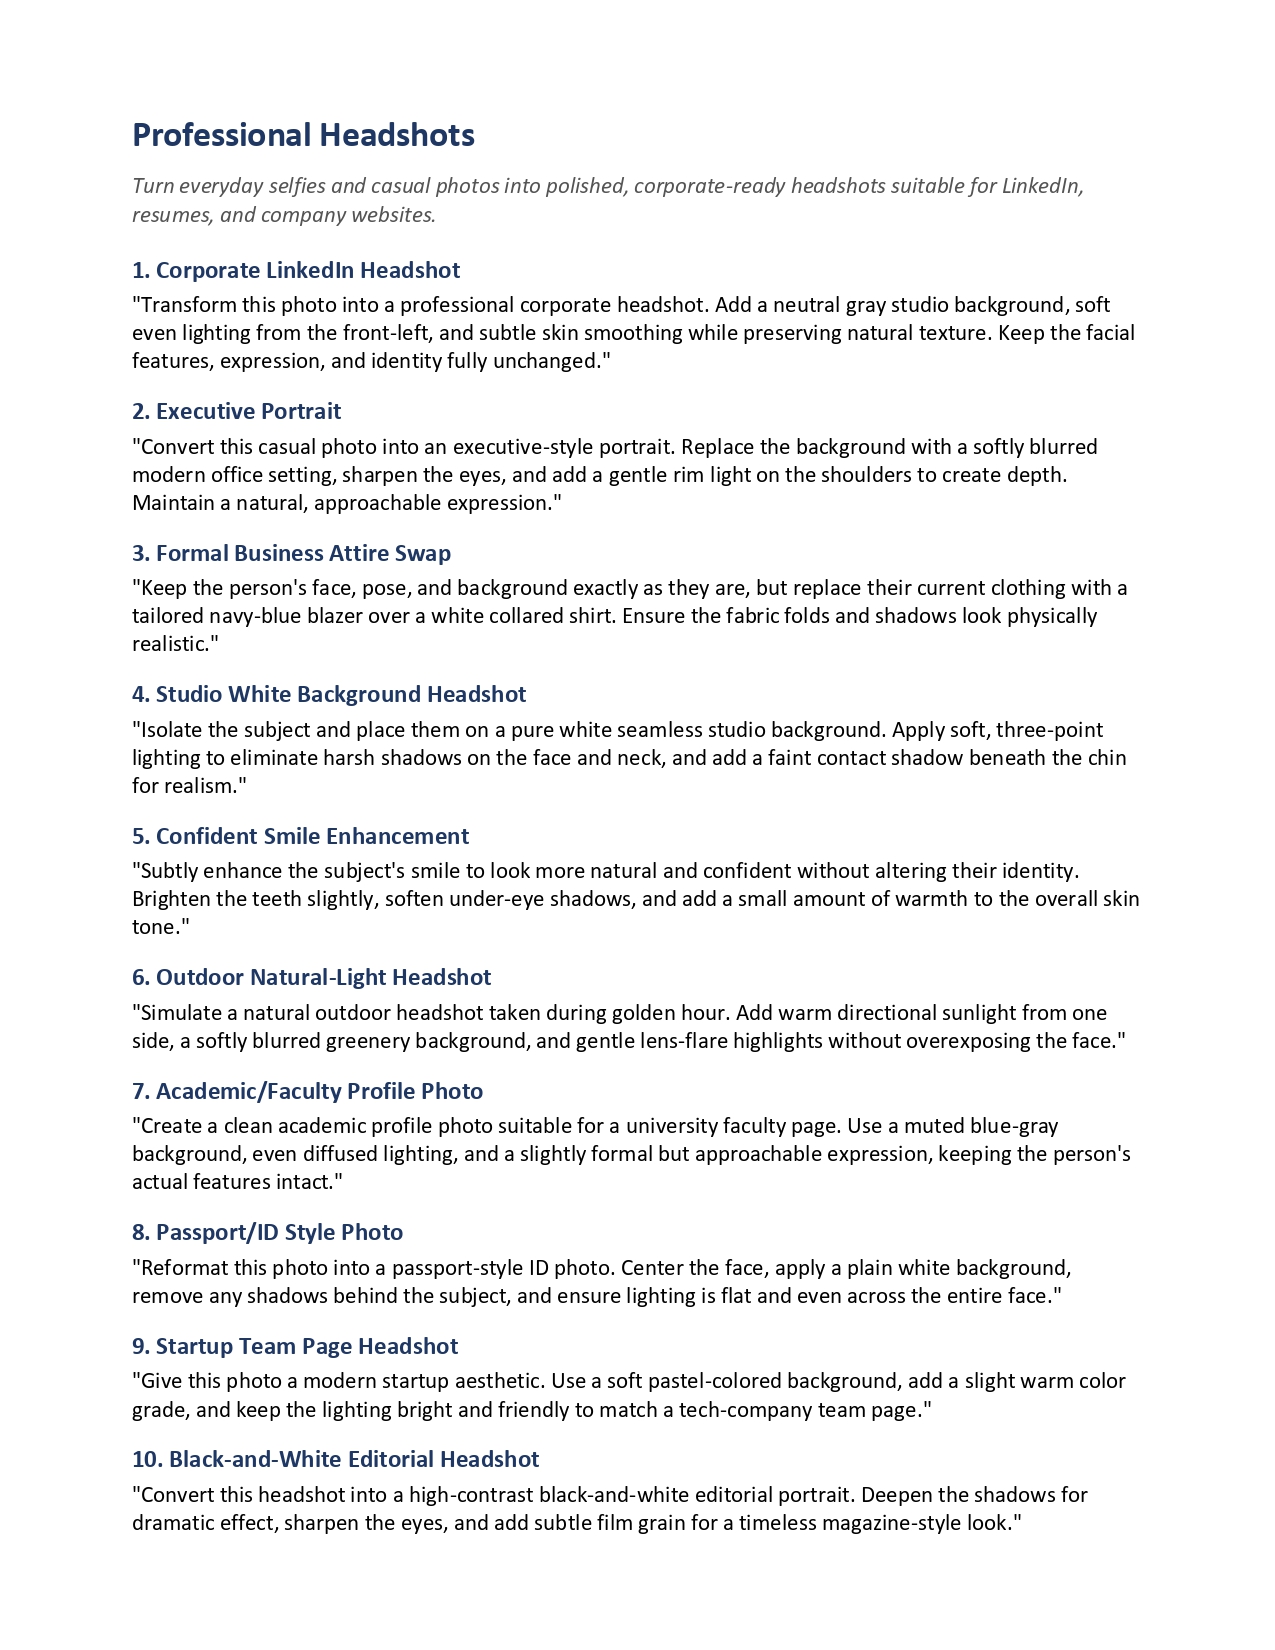
100+ AI Photo Editing Prompts Pack (Instant Download)
Copy-paste prompts for ChatGPT & Gemini photo edits
- 100+ copy-paste prompts across 8 categories: portraits, Instagram trends, backgrounds, product shots, restoration, creative styles, text-on-image and ad creatives
- The 6-part prompt formula with worked examples
- Follow-up prompts to fix likeness, lighting and background issues
- Aspect-ratio cheat sheet for every social and ad placement
Look inside
Secure Razorpay checkout One-time payment, lifetime accessInstant download
The bottom line
Creating an e-commerce website using AI without coding is no longer a clever hack — it's the sensible default for anyone in India launching a store on a small budget. An evening of clear instructions gets you a real, owned store with UPI payments, and you can change anything on it yourself, forever.
If you'd rather be walked through it live, our AI E-Commerce Website Course builds a complete store with Razorpay in 60 minutes and then goes further — AI product photography, Meta lead-gen ads to bring customers, and a freelancing blueprint for charging clients ₹15,000–₹80,000 per store. Recorded plan ₹1,499, live 2-week batch ₹4,999. New here? Start with the features of e-commerce explainer.
Want the other 40+ prompts? The full pack adds the fix-it prompts, worked examples and aspect-ratio cheat sheets.
Glossary
- AI Website Builder
- A tool like Lovable that turns plain-English instructions into a real, working website — pages, design and code included — instead of making you assemble a template.
- Prompt
- The instruction you type for the AI. A good prompt describes what you sell, who it's for, the look you want and the feature you need next.
- Payment Gateway
- The service that collects money on your store. In India, Razorpay, Cashfree and PayU handle UPI, cards and net banking for roughly 2% per successful transaction.
- Checkout
- The final steps where a buyer enters their address and pays. Every extra field here loses sales — keep it short.
- Domain
- Your web address, e.g. yourbrand.in. Costs roughly ₹700–₹1,500 a year and is the one thing you should own from day one.
- COD (Cash on Delivery)
- Paying when the parcel arrives. Still expected across much of India, but plan for 15–30% return-to-origin losses on COD orders.
- Responsive Design
- A layout that works on phones as well as laptops. Most Indian shoppers are on a phone, so this is the version that matters.
- Alt Text
- A short written description of an image. It helps blind users and tells Google what your product photo shows.
Sources & Further Reading
Frequently Asked Questions
Can I build an e-commerce website without coding?+
Yes. With an AI builder you describe the store in plain English and the tool writes the code for you — product pages, cart, checkout and mobile layout included. You will type instructions, not code. The skills that actually matter are describing what you want clearly, checking the result on a phone, and knowing your own products and prices.
How do I create an e-commerce website using AI, step by step?+
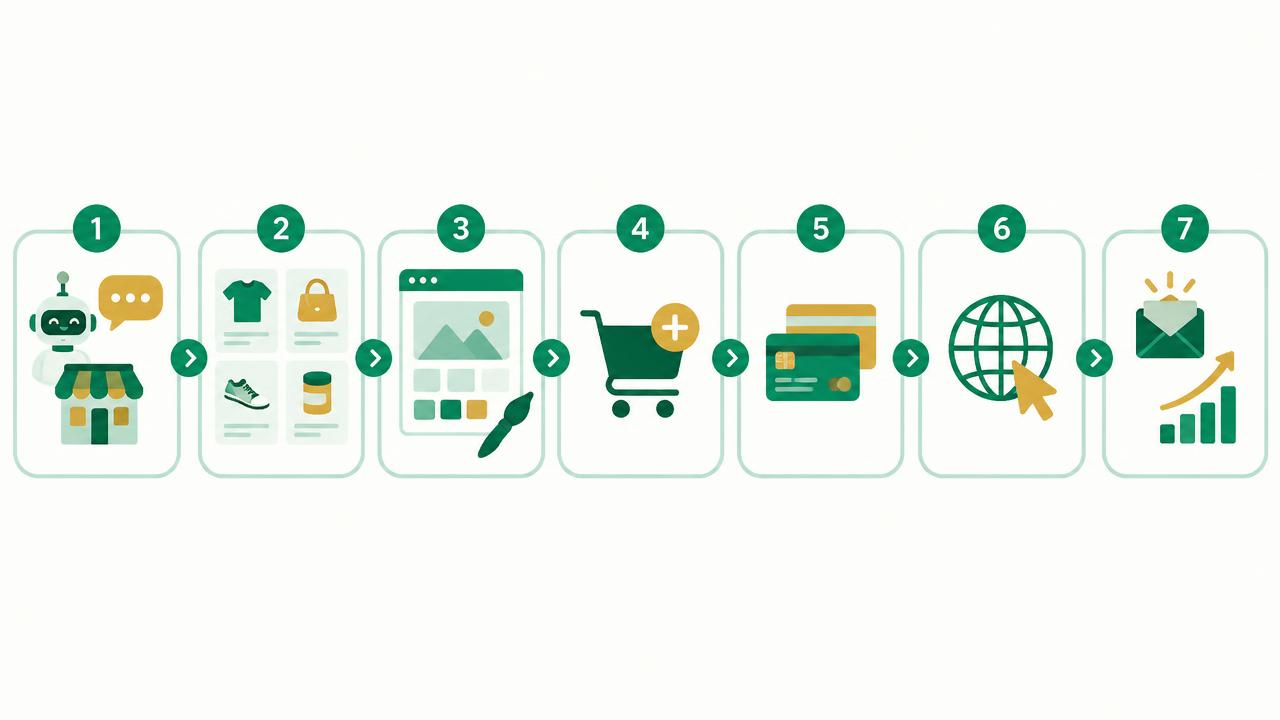
Seven steps: (1) describe your store to the AI builder, (2) add your products, prices and photos, (3) apply your brand colours and AI-written copy, (4) add the cart and checkout, (5) connect Razorpay for UPI, cards and COD, (6) point your own domain at the site and publish, (7) switch on order emails, a WhatsApp button and basic SEO. Each step is one clear instruction to the AI, and the whole thing can be done in an evening.
How long does it take to build an online store with AI?+
A working store with real products and a live Razorpay checkout takes about 60 minutes. Making it genuinely good — proper product photos, well-written descriptions, policy pages, tested mobile checkout — usually takes a weekend. Compare that with 4–8 weeks for an agency build.
Is it really free to create an e-commerce website with AI?+
Almost, but not entirely. You can build and preview for free on most AI tools' free tiers. To go live properly you need a domain (~₹1,000/year) and usually a paid AI plan, and your payment gateway keeps roughly 2% of each order. What you avoid is the ₹30,000–₹80,000 developer bill and the ₹4,000–₹10,000 monthly SaaS rent.
Can an AI-built store accept UPI and cash on delivery?+
Yes. Payments come from your payment gateway, not from the builder. Connect Razorpay (or Cashfree/PayU) and your store accepts UPI, cards, net banking and wallets immediately after KYC. COD is a checkout option you switch on, with your courier — Shiprocket, Delhivery or a local partner — handling collection.
Are AI-built websites good for SEO?+
They can be, because Google judges the page, not the tool that made it. Ask the AI for clean page titles and meta descriptions, one H1 per page, alt text on product images, fast-loading images and a sitemap. That is the same checklist any developer would follow — the AI just does it when you ask.
AI builder vs WordPress or Shopify — which should I choose?+
Shopify is the least effort but you rent it: ₹1.5–3.6 lakh over three years once you add the apps Indian stores need. WordPress with WooCommerce is cheap in software but you own the hosting, updates and plugin conflicts. An AI-built store sits in between: you own the site, pay almost nothing monthly, and you are the one who asks for changes. Our full comparison is in the best e-commerce platform guide.
Can I build AI e-commerce websites for clients and charge for them?+
Yes, and it is one of the fastest freelance services to start in India right now. Small businesses pay ₹10,000–₹25,000 for a store that takes you a day, and many pay a monthly retainer for changes and ads. Build two sample stores first so you have a portfolio, then price on the outcome, not the hours.
Join our live training program and become a performance marketing professional.